
Flower fairy wings
A few years ago the girls and I made some glittery fairy wings for a cousin’s fairy party with wire coat hangers and contact paper. I thought the glitter and tiny star confetti would be so pretty seemingly floating behind them as wings. I always thought the same idea with flowers would be so pretty and suggested them to a friend who asked for flower party ideas. I never really got a chance to try it until I wanted some new ideas for an ebook I’ve just put together. And they’re just as pretty as I imagined! Also pretty to make with autumn leaves for those of you going into the cooler weather on the other side of the world! Here’s how to make them…

Toolkit
Fresh flowers (or try glitter, sequins, leaves, bits of cellophane)
Clear contact paper
Two wire coat hangers
Duct tape
Scissors
Ribbon or elastic
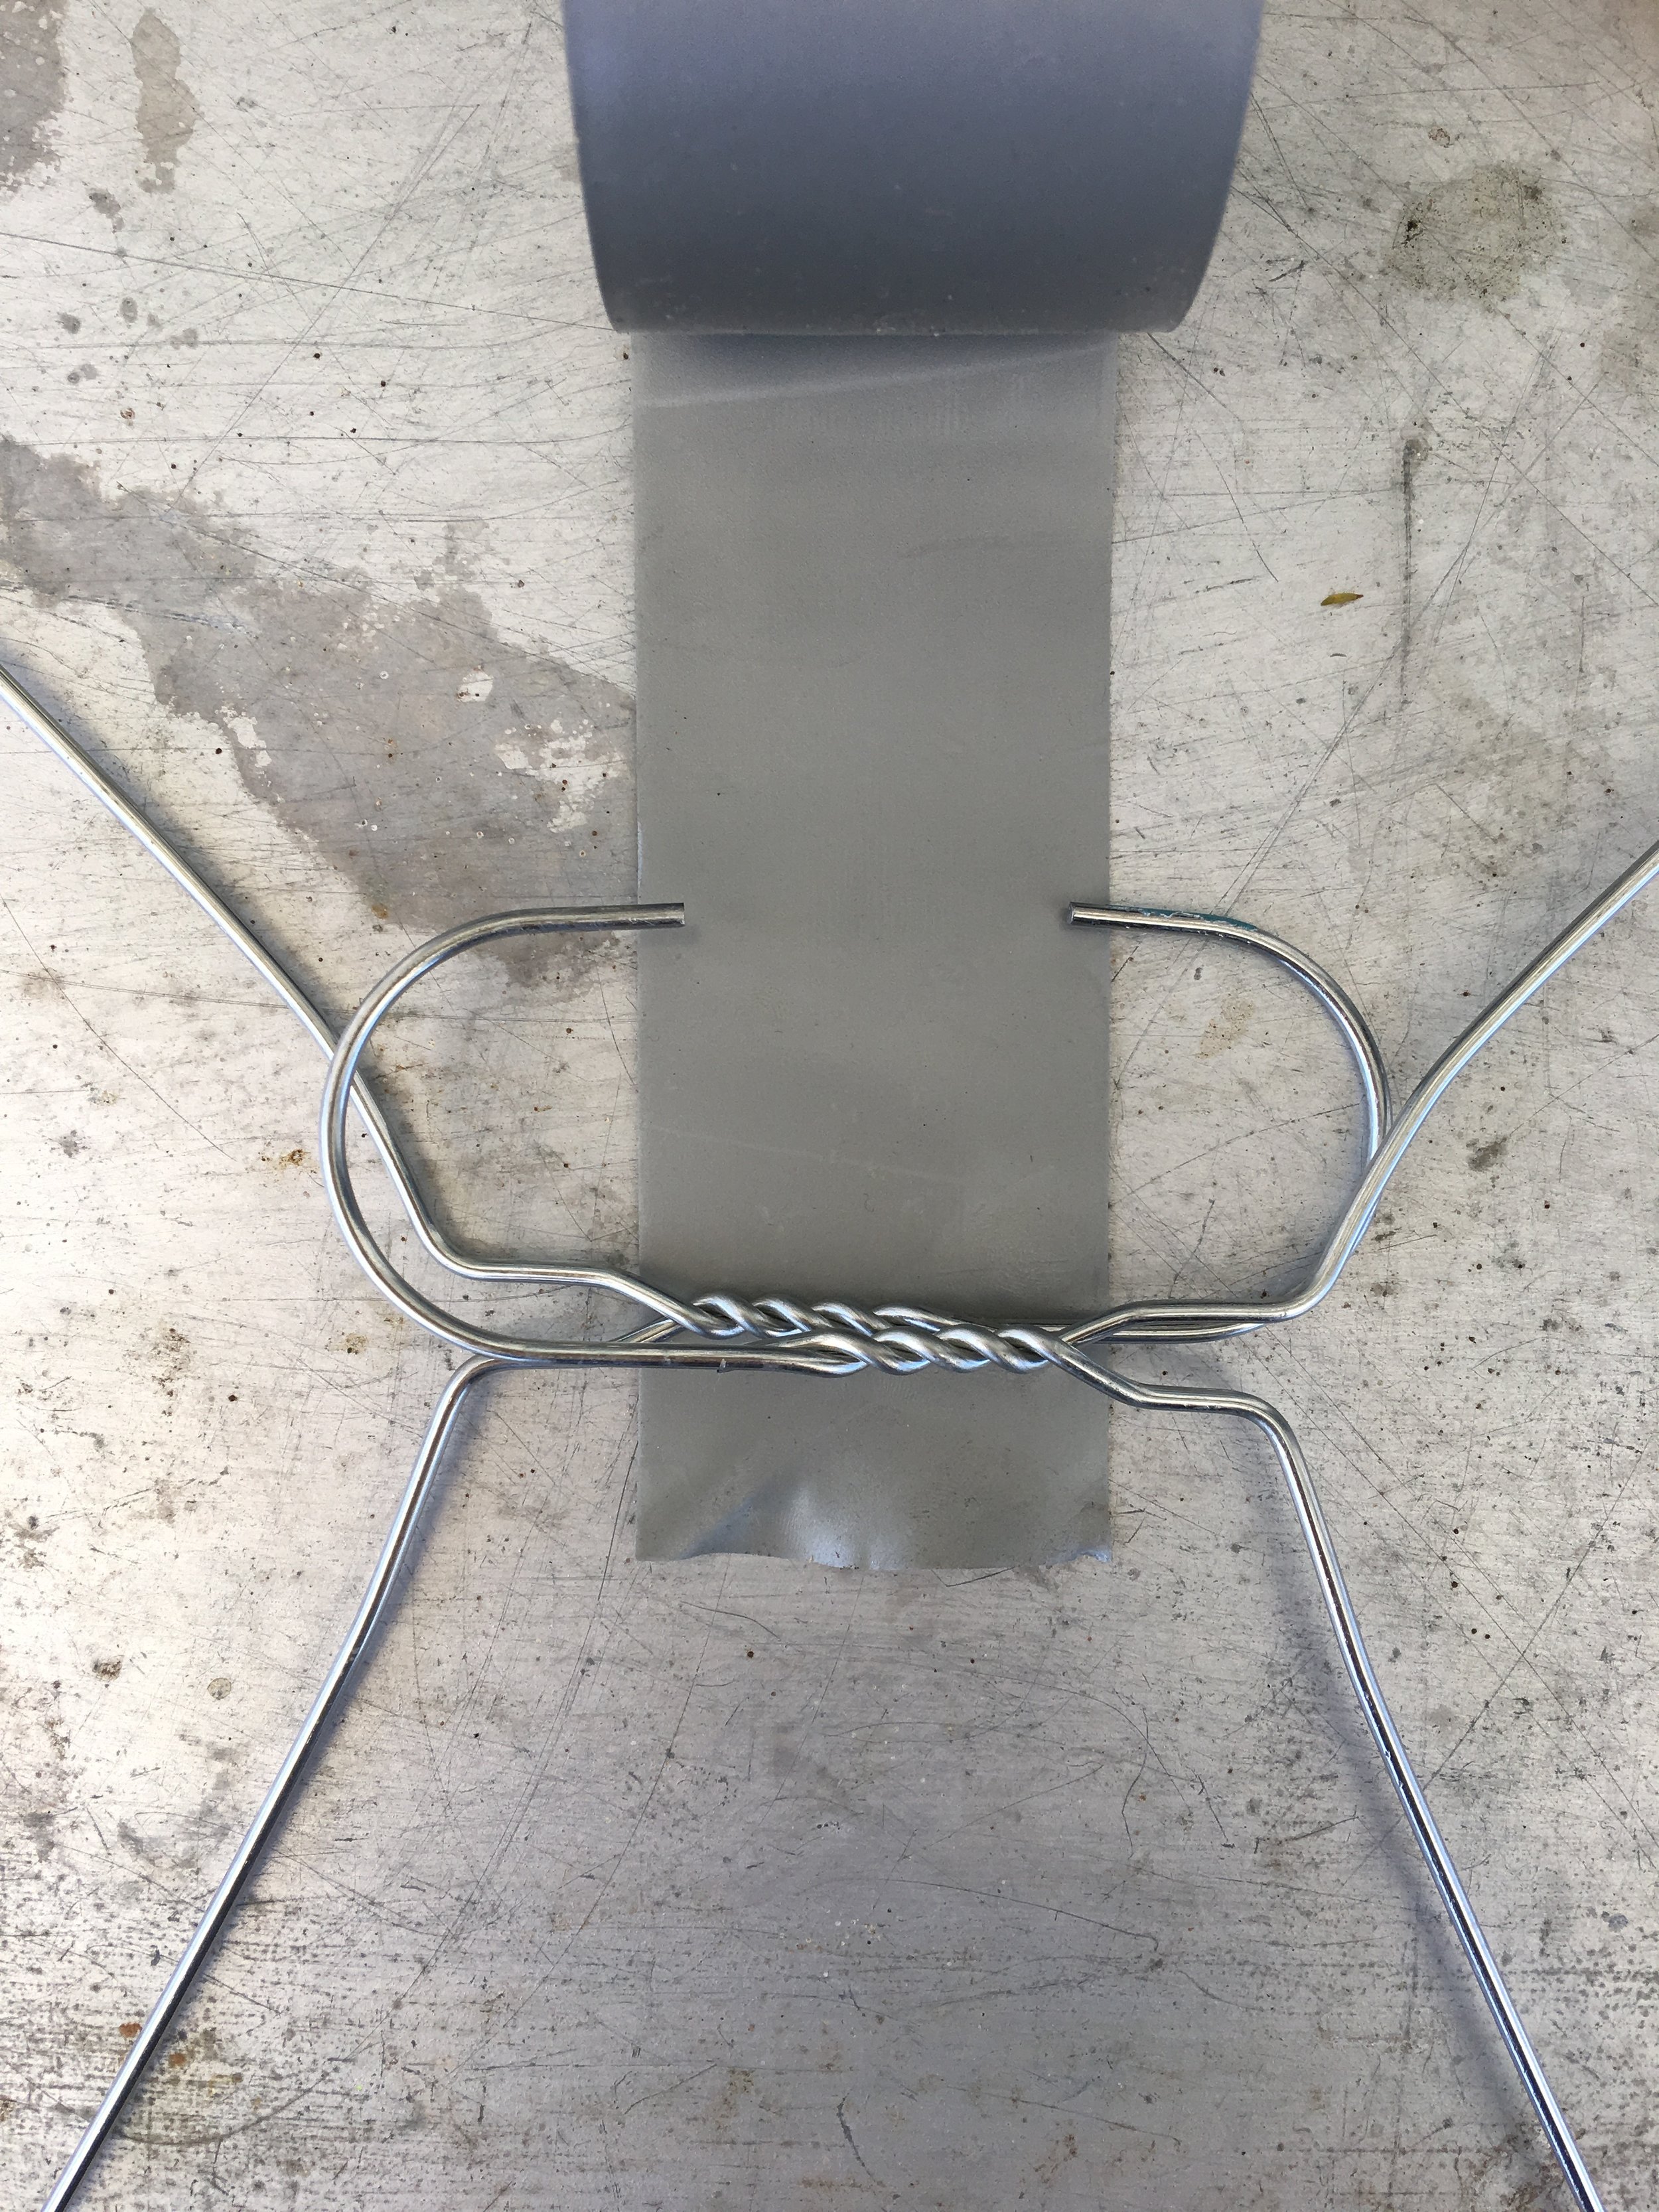
Step 1: Place the two coat hanger hooks together so the triangular parts splay outwards like wings. Have the two hooks overlap each other and use duct tape to secure together.

Step 2: Wrap the tape around the centre until all is covered. Gently pull on the outside ends of the hangers so they bend out to more of wing shape.

Step 3: Cut a square of contact paper that will cover the entire “wing”. Remove the backing paper and place on a flat surface with the sticky side up. Put the “wing” onto the sticky contact paper and then place your flowers - remove petals or place whole smaller flowers into place. Add some glitter you wish for more sparkle!

Step 4: Cut another square of contact paper to cover the other piece, sandwiching the coat hanger and flowers in-between the two sheets. Press together and do your best to remove some bubbles, but due to the non-flat nature of flowers, there will most likely be bubbles!

Step 5: Use scissors to trim around the wings, leave a bit of an overhang from the wire frame so the contact paper sticks together to avoid it opening up. Repeat steps 3-5 on the other wing.

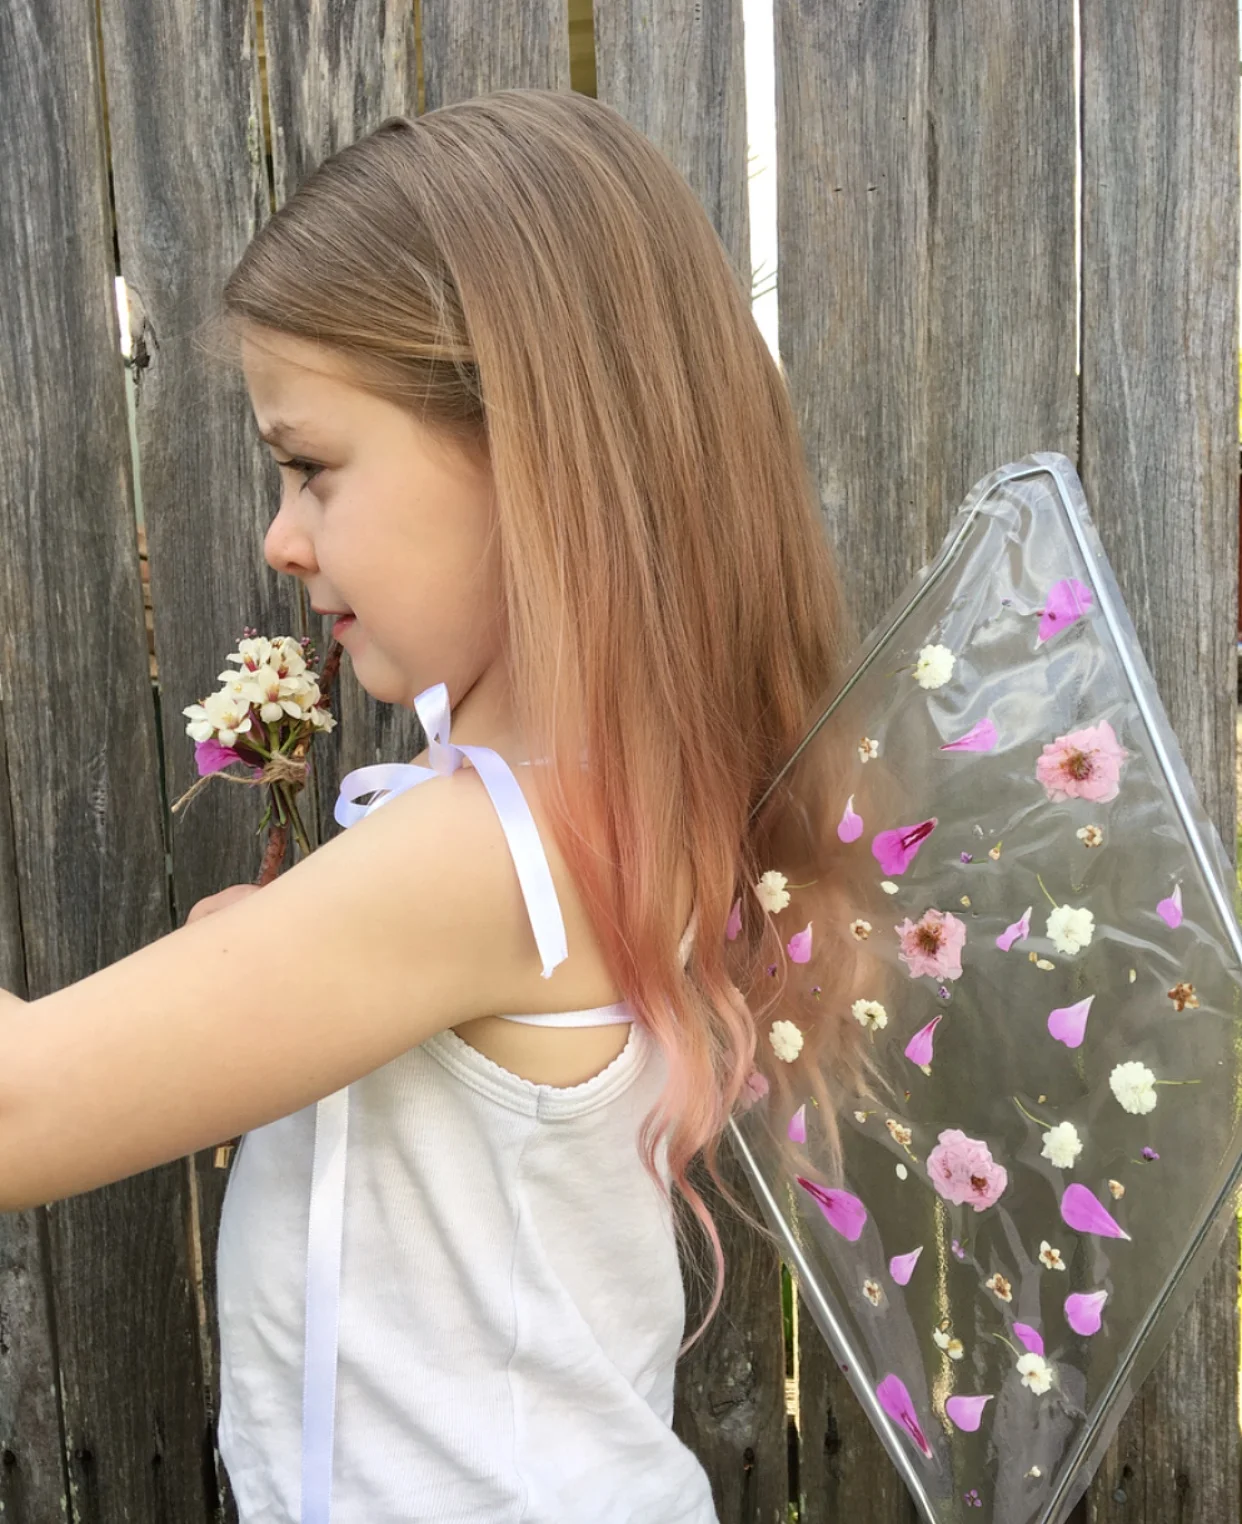
Step 6: Attach ribbon or elastic to the centre parts near the duct tape. Tie around child’s shoulders.
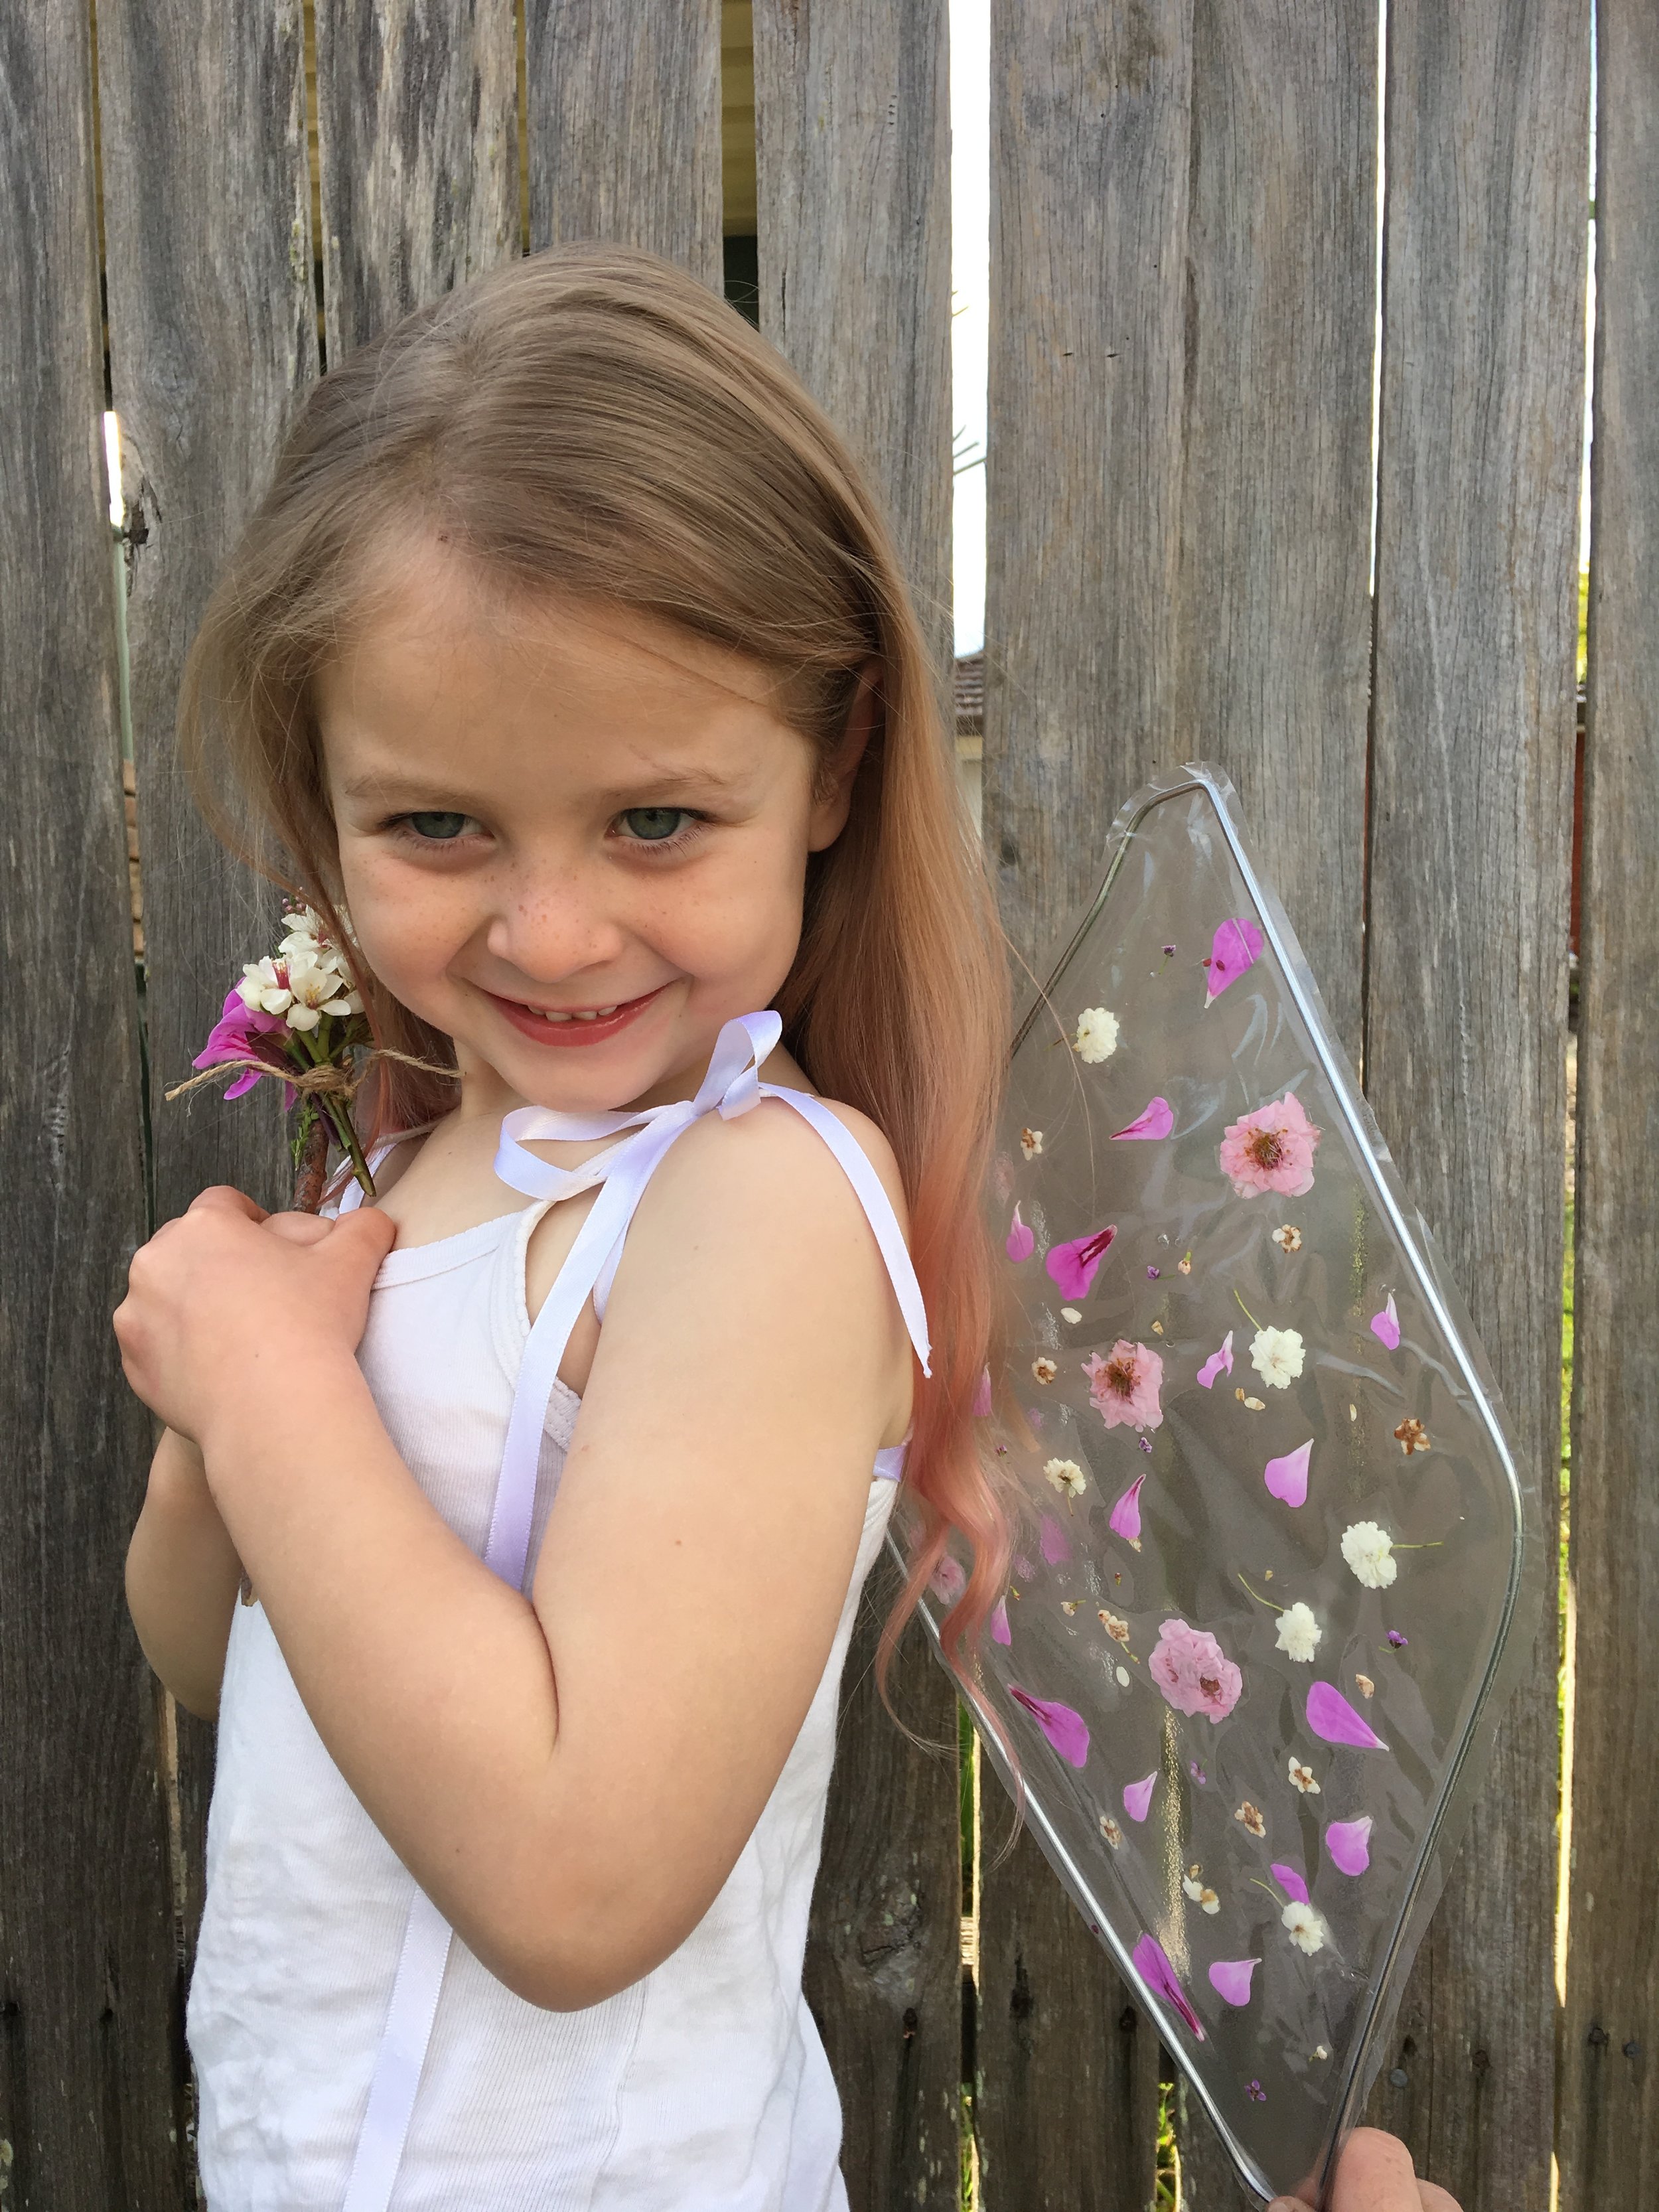

Annika loved these! We made her a matching fairy wand with a stick and some fresh flowers tied on with jute string. They’d be a great activity at a birthday party or to wear to a dress-up party.
This craft was part of my new ebook 101 free(ish) things to make and do with your children. If you’d like a copy, please subscribe here.