
Book Week costume: The Queen of Hearts
I know what you're thinking: "Wow! No one has EVER - in the history of book parades - gone dressed as an
Alice In Wonderland
character!" But I chose the Queen of Hearts for a few reasons - one of them because I wanted to finally use the fantastic IKEA Lattjo Queen crinoline and skirt I bought ages ago (which is no longer available by the looks of it). And secondly, because it IS a popular character and I think it's pretty darn easy to make it look fantastic without having to sew anything or buy too much. All I bought for this outfit was a packet of cards and two plastic tablecloths for the skirt from Kmart. A grand total of $7 was spent as I had the rest of the stuff at home already. I realise part of what makes this look good is the puffiness from underneath it - a tutu or frilly skirt should do the trick and if you have a girl, chances are you have one of those lying around your house already! The collar I discovered on Pinterest in various incarnations and is so simple but so effective! Bravo to the clever person who came up with the original idea!
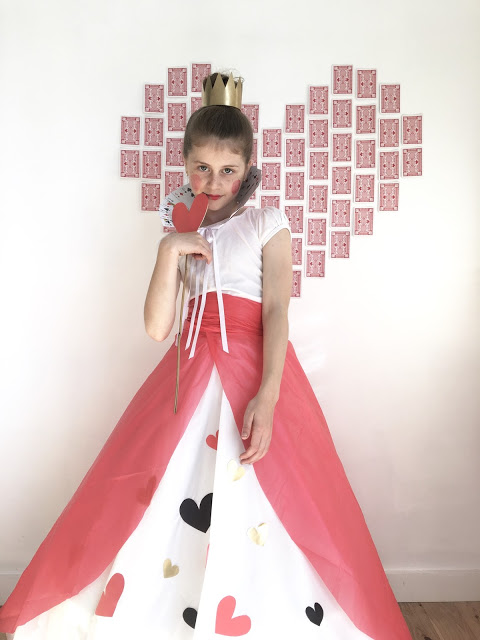
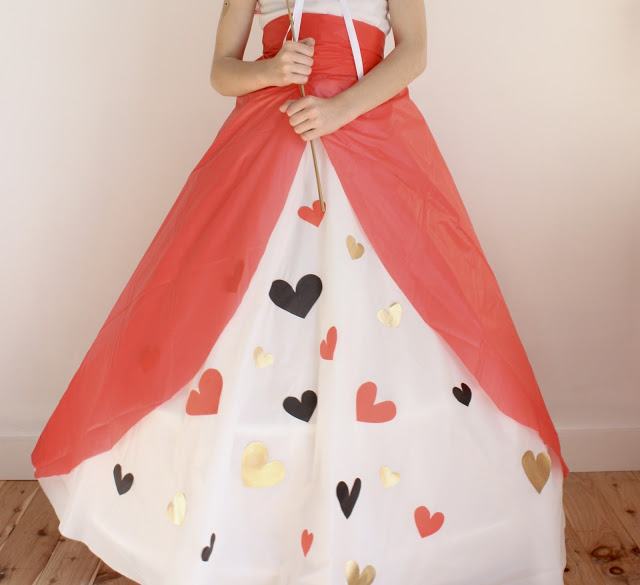
So what does one need for the Queen of Hearts? A skirt, a crown, some heart lips, rosy cheeks, heart-shaped staff and a very fabulous card collar. And Layla's royal pain-in-the-butt princess attitude goes a long way too...
Queen of hearts plastic tablecloth skirt tutorial
You'll need...
A white round plastic tablecloth, $2 from Kmart or pretty much any bargain/party shop (For memory the size was 2.1m)
A red rectangle plastic tablecloth, $2 from Kmart (or other budget/party shop)
Thick elastic
A hot glue gun
A sticky velcro hook-and-eye dot
Scissors
Coloured paper in black, red and gold (I just spray painted a sheet of paper with gold spray paint before cutting it up into hearts)
A large safety pin
A tutu, frilly skirt, net or hoop for underneath
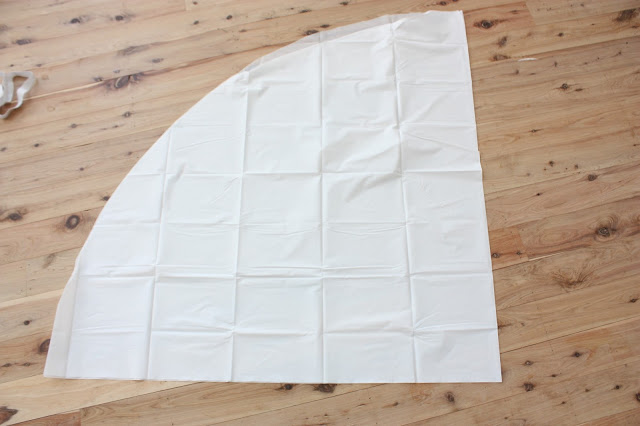
Step 1:
Unfold the round tablecloth until it's folded into a quarter, as above. In the pointy corner which is the centre of the tablecloth (the bottom right in this picture), cut across it to create a hole in the middle.
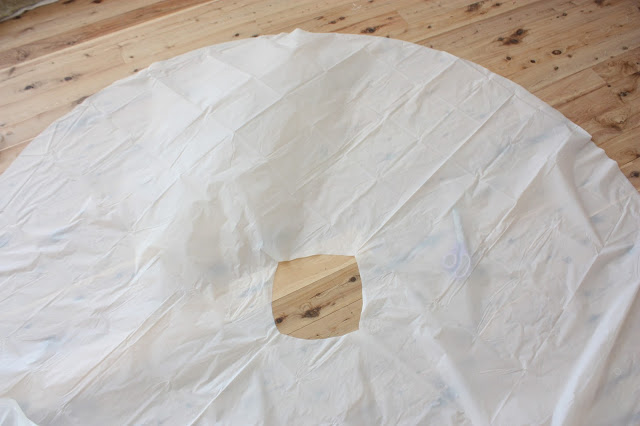
Step 2:
Unfold so it looks a little like a white plastic donut! You might need to make adjustments here to make it bigger if you were cautious with your original cut - you'll want to be able to step into the hole and pull it up around your waist with plenty of room to spare.
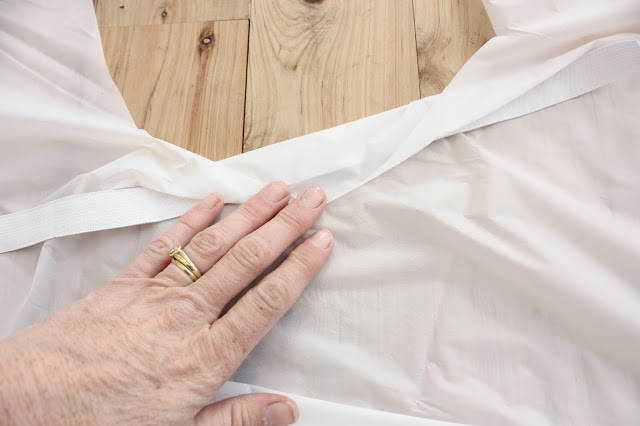
Step 3:
Carefully fold back the edge of the hole so it forms a seam big enough to easily thread the elastic through afterwards. Use your hot glue gun to gently glue the seam in place. Don't leave it on the plastic too long - it will burn a hole in it! But the glue itself does a pretty good job. Continue all the way around back to the beginning but leave a bit of a gap to allow the elastic through.
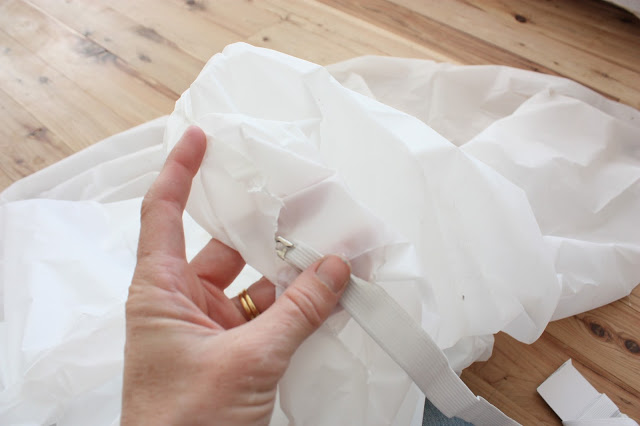
Step 4:
Attach a safety pin to the end of a piece of elastic and thread through the seam gently. Work out what will fit comfortably around your child before tying it off and cutting. The skirt will gather slightly. Pop it on your child - they'll be your mannequin for the next few steps.
Step 5:
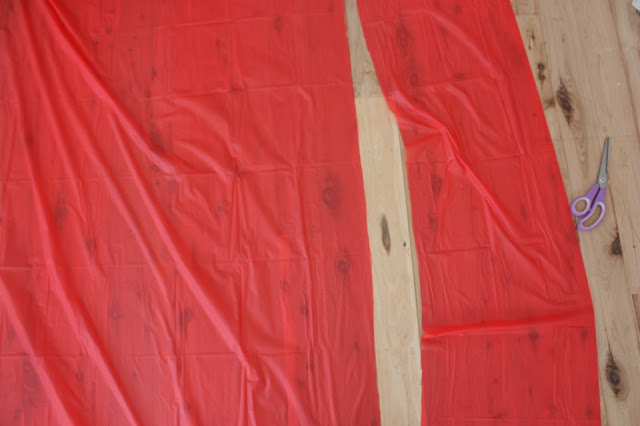
Unfold the red tablecloth and lay it out on the floor. Cut off a strip longways - about 40cm thick and put aside. This will be your ribbon to hide all fake-sewing sins!
Step 6:
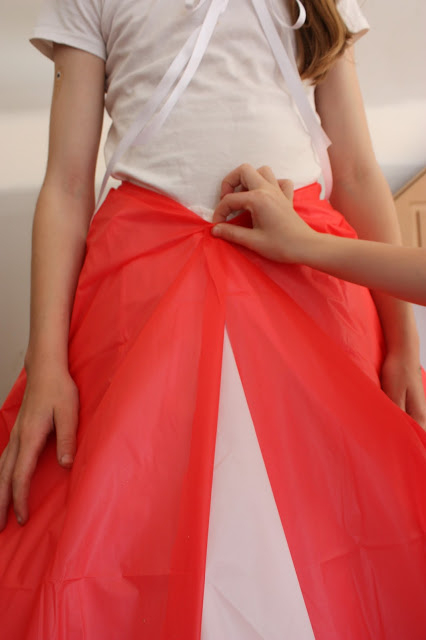
Wrap the larger piece of the tablecloth around your child, covering the top of the white skirt. Pinch at the meeting place and have your child hold.
Step 7:
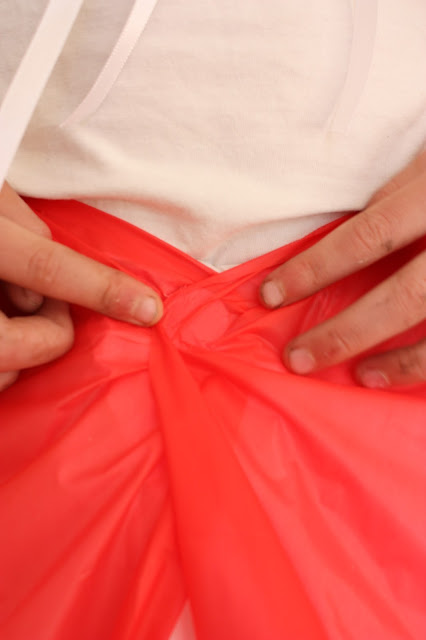
Stick on the sticky velcro dot to secure.
Step 8:
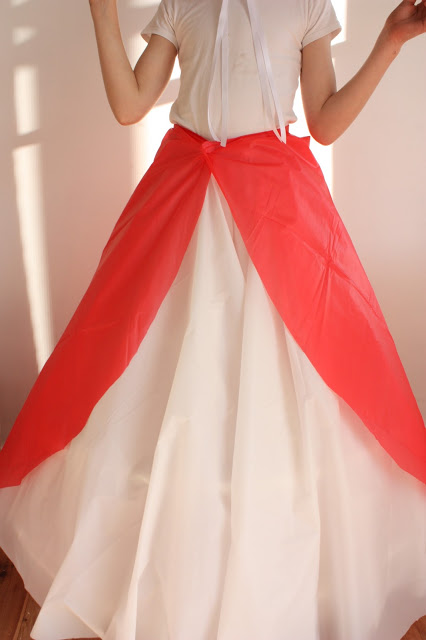
Cut from the velcro dot down along each side on a diagonal, curving at the bottom.

Step 9:
Fold the skinnier piece of the red tablecloth you had set aside into a neat strip and wrap around the waist, covering the top of both skirts. Tie into an oversized bow at the back.
Step 10:
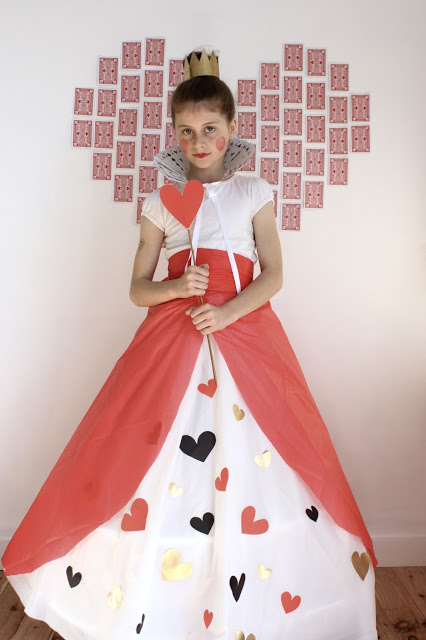
Cut out paper hearts in various sizes and colours and stick in place on the front of the white skirt that is visible.
♥♣♦♠♥♣♦♠♥♣♦♠♥♣♦♠♥♣♦♠♥♣♦♠♥♣♦♠♥♣♦♠
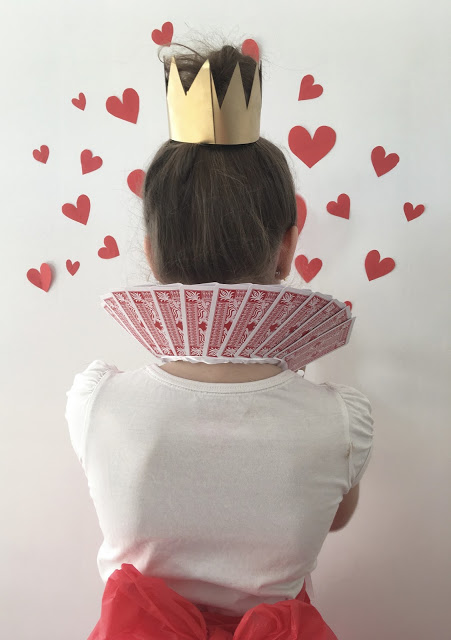
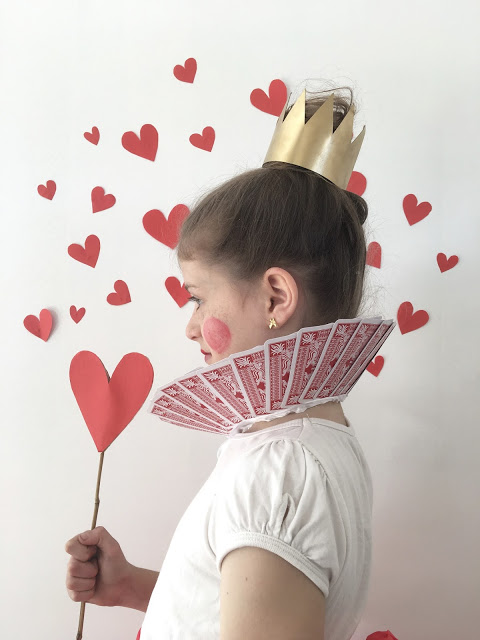
Queen of Hearts card collar tutorial
I'm sure this doesn't actually need a tutorial as it's pretty easy, but here is what I did anyway!
You'll need...
A packet of playing cards, $3 from Kmart
A hot glue gun
White ribbon
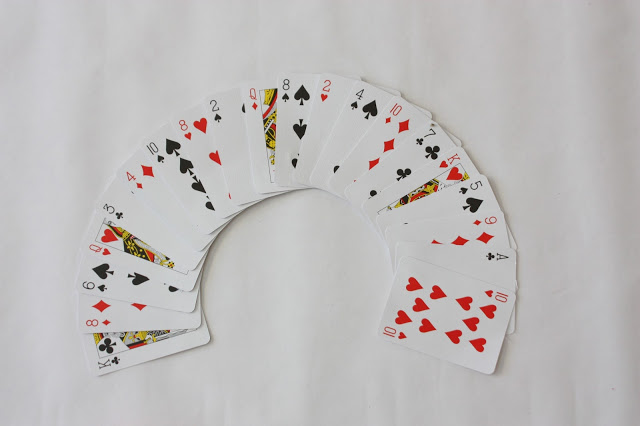
Step 1:
Fan out several cards until you have a rainbow! I wanted more than just the number showing so placed them individually in place to create this shape. Once you're happy with the placement, begin gluing them together.

Step 2:
Glue gun the ribbon over the bottom edge of the cards on the front. It's not pretty but it won't really be seen anyway (and is really hard to do neatly!)

Step 3:
Do the back as well for extra strength and neatness (and also to avoid potential paper cuts!) Glue the very edges of the ribbons together where they first meet. Tie around the neck gently - it will naturally sit upright as you tighten and tie off into a bow.
♥♣♦♠♥♣♦♠♥♣♦♠♥♣♦♠♥♣♦♠♥♣♦♠♥♣♦♠♥♣♦♠
For the rest of the costume...
Crown
A cereal box is my secret source for all things costumes. I once made a Star Wars Clone Trooper costume for Zak out of cereal boxes! They're the perfect stiffness while being thin enough to easily work with. Anyway, I just cut out the zig zag crown, spray painted it gold and glue-gunned it into place. It just sits on top of her bun - no comb; no headband; no bobby pins!
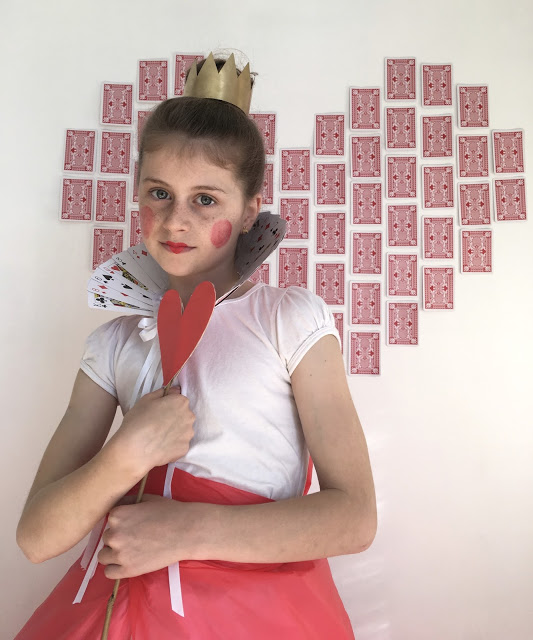
Staff
Again, a cereal box with glued-on red paper cut into two hearts and glued back-to-back with a bamboo stick sandwiched in-between!
Make-up
Red face paint was painted onto lips in a heart shape with a really fine paintbrush. The same paint was mixed with moisturiser for the rosy cheeks. A red lippy would also work, obviously! We used gold eyeshadow on the eyes too.
Layla and I both love how her costume turned out. She originally was going to be the Cheshire Cat and was just going to model this one for me for the blog, but as soon as she put it on she changed her mind! Not sure how she'll go sitting in class with that huge skirt on though! Ha!
Want more? Check out a cute and easy crayon costume from